This article will guide you through installing the Office 365 software onto your Mac.
Step 1: Sign in and install Office
- Go to www.office.com and if you’re not already signed in, select Sign in.
- Sign in with your username and password, if you’re unsure of these, please contact Cilix.
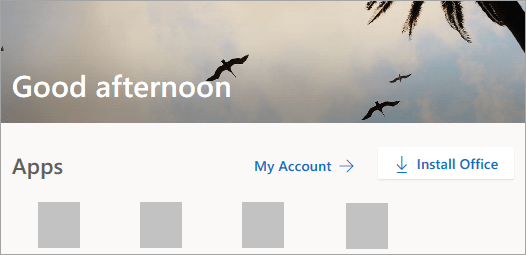
- On the Office home page, do the following depending on your version of Office.
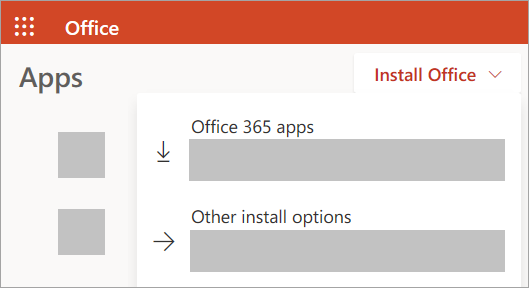
Select Install Office > Install if you signed in with a Microsoft account.
Select Install Office Apps > Office 2016
This begins the download of Office. Follow the prompts on your screen to complete the install.
Step 2: Install Office
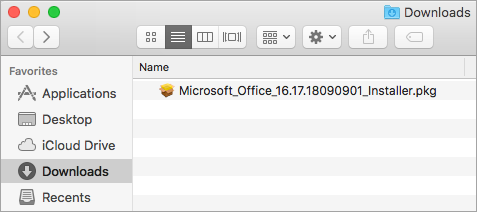
- Once the download has completed, open Finder, go to Downloads, and double-click Microsoft Office installer.pkg file (the name might vary slightly).
Tip: If you see an error that says the Microsoft Office installer.pkg can’t be opened because it is from an unidentified developer, wait 10 seconds and move the downloaded file to your desktop. Hold Control + click the file to launch the installer.
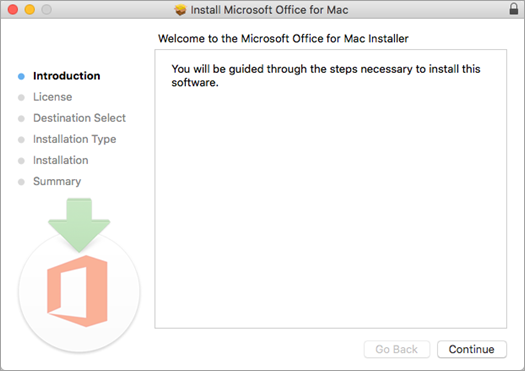
- On the first installation screen, select Continue to begin the installation process.
- Review the software license agreement, and then click Continue.
- Select Agree to agree to the terms of the software license agreement.
- Choose how you want to install Office and click Continue.
- Review the disk space requirements or change your install location, and then click Install.
- Enter your Mac login password, if prompted, and then click Install Software. (This is the password that you use to log in to your Mac.)
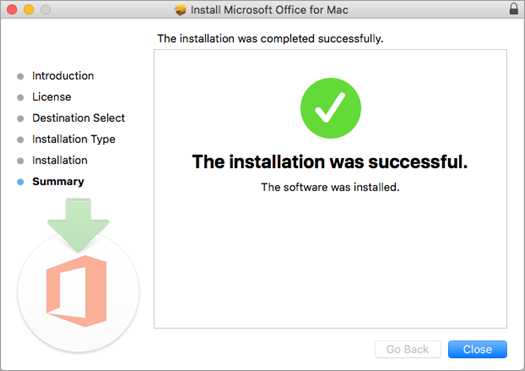
- The software begins to install. Click Close when the installation is finished.
Taken from: https://support.office.com/en-us/article/download-and-install-or-reinstall-office-365-or-office-2019-on-a-pc-or-mac-4414eaaf-0478-48be-9c42-23adc4716658#InstallSteps=Install_on_a_Mac

